Create a work order, reject, or skip to 'fixed'
After creating or receiving a ticket and reviewing its information, you have three options to proceed.
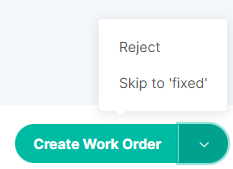
On the bottom right-hand side of the screen, you can see the Create Work Order button, and if you click on the arrow to its right, you can see the options to Reject and Skip to ‘fixed’. Learn more about those options below.
Option 1: Create a Work Order
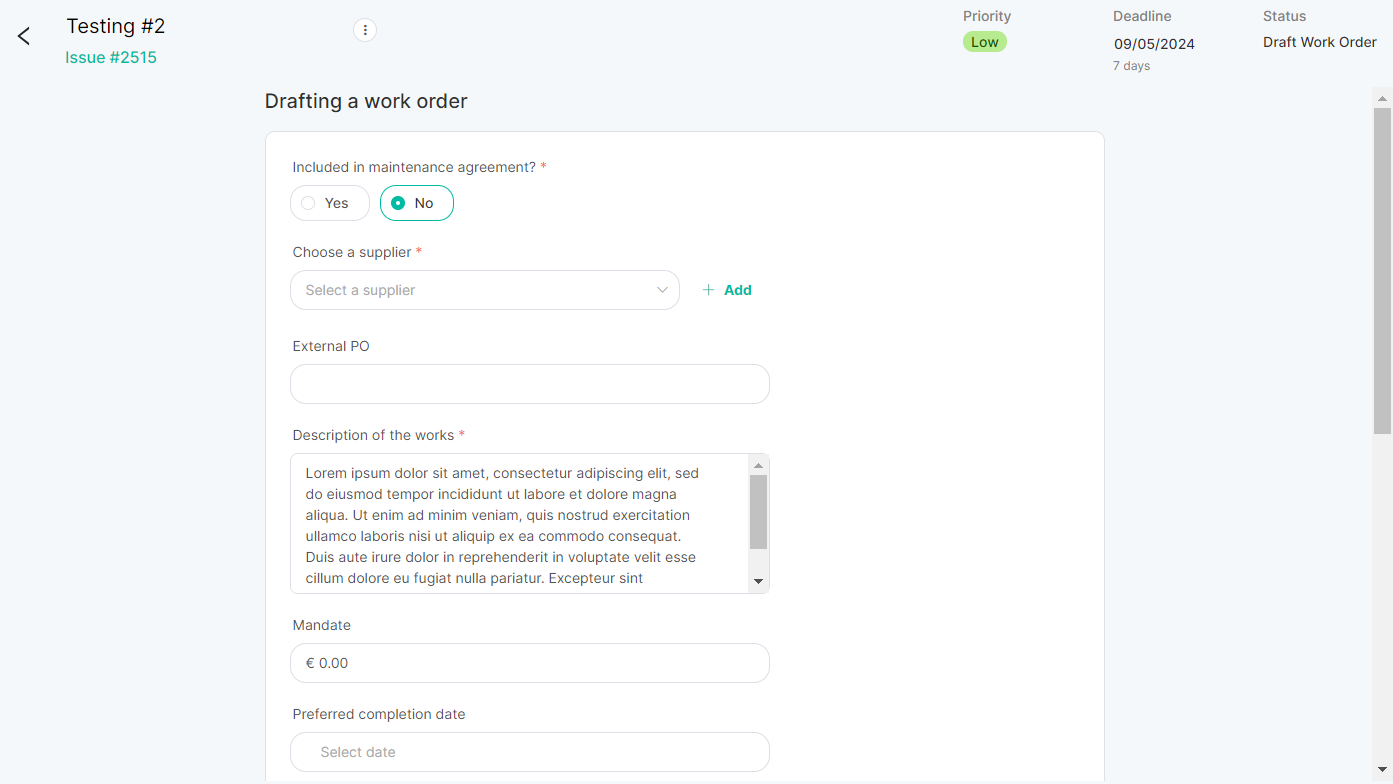
Step 1: Click on the Create Work Order button and you will be redirected to a draft of the work order.
Step 2: Enter information such as whether or not the coverage of the issue is included in the maintenance agreement, which suppliers should be selected, who should be responsible for the costs, and any additional information related to fixing the issue.
Step 3: Once you have added the required information, click on Review Work Order on the bottom right-hand side of the screen and review the data. If everything is correct, click on Send Work Order to Supplier. If any changes are necessary, click on the arrow pointing to the left on the bottom right-hand side of the page and return to drafting.
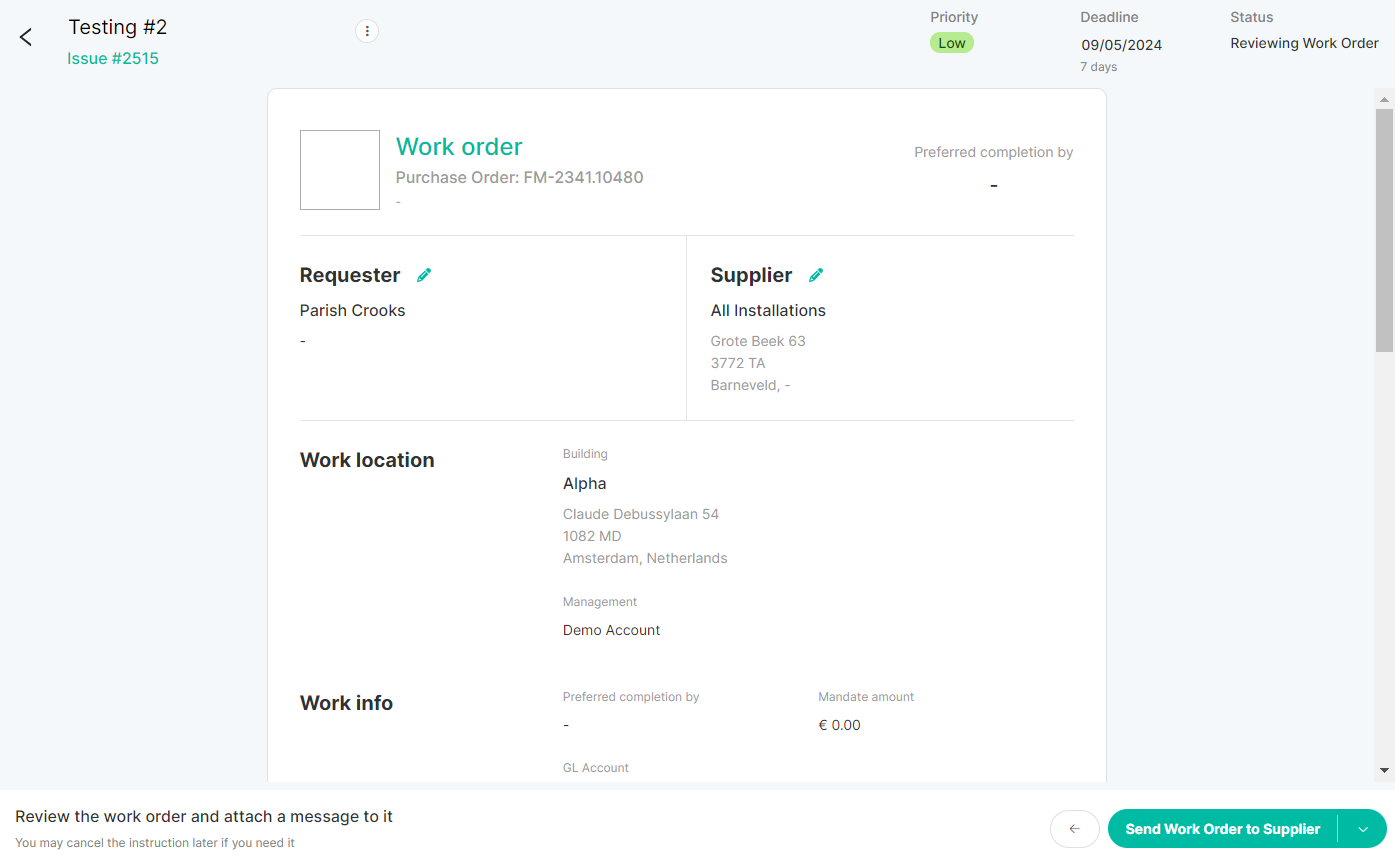
When clicking on Send Work Order to Supplier, you will be asked to confirm that choice and the ticket’s status will change to Pending Supplier Confirmation.

Depending on where you are at in the process of addressing the issue, you can choose between the following:
- Confirm Instruction: this option allows you to schedule an on-site visit and make a comment. The status will change to Visit Scheduled and it will also be possible to report on whether or not the visit was sufficient to fix the issue.
If not, you can add a reason as to why the issue was not fixed and send a quote. If it was resolved, it is possible to attach files confirming the job was completed and add comments.
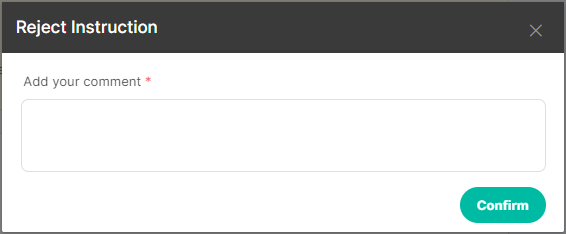
- Reject Instruction: if there are any concerns regarding the work order, it is possible to reject it and add comments.
- Submit Quotation: this is where you can add the total amount of the quote, as well as attach files, and make comments. Once sent, the supplier’s quote will be pending approval.

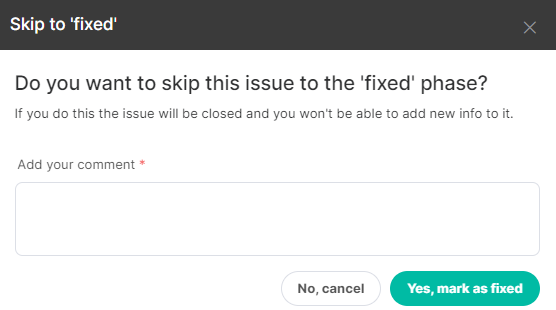
- Skip to ‘fixed’: if you want to close the issue and skip the other stages, this is the option to do so. You can add comments to justify this choice. It is important to note that, once a ticket is closed, it can no longer be edited.
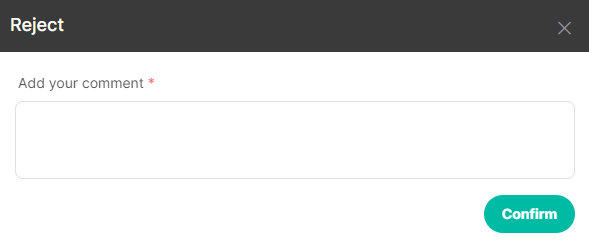
Option 2: Reject a ticket
Once a ticket has been created, you have the option to reject it. By choosing this alternative, you will be required to add a comment to justify this decision, and the ticket status will be updated to Rejected.
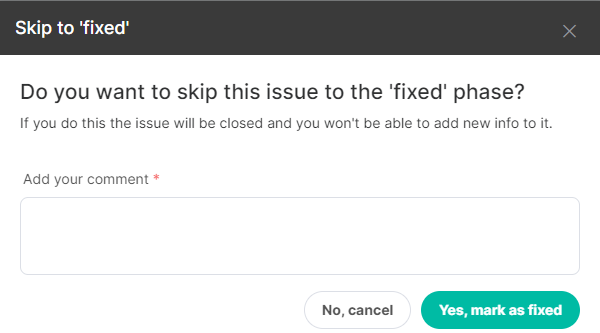
Option 3: Skip to ‘fixed’
This option will allow you to close the ticket and skip to the last step, which indicates that the issue has been fixed. You will be asked to add comments to justify that choice. Keep in mind that, once a ticket is closed, it can no longer be edited.
Related Articles
Create a new ticket
To create a ticket, follow the steps below. Step 1: Click on the New Ticket button on the top right-hand side of the screen. Step 2: A pop-up will appear, where you can select the building you want to create a report about, and click on Continue. ...How to download a work order
After creating a work order and sending it to the selected supplier, you can also download it as a PDF. To do so, follow the steps below. If you want to learn how to create a work order, please access this article. Step 1: Access your ticketing ...How can I change the mandate after creating a work order?
After the work order has already been created and sent to the supplier, you still have the option to change the mandate amount in some instances. Learn more about them in the article below. Step 1: Click on the pencil icon on the right-hand side of ...How to create tasks
This feature is designed to streamline your workflow and boost collaboration across your teams, helping you stay on top of every detail in your property management processes. With the Tasks feature, you can: Create custom tasks: add a task name, set ...How to create a maintenance plan
In order to create a new maintenance plan, follow the steps below. Step 1: Within the asset page, navigate to the LTMP tab. Step 2: Click on "Create plan." Step 3: Select a template, which could be an empty plan or a previously created LTMP that was ...